
Personal expression can play out in a myriad of ways as you plan your Central Coast wedding celebration. As you dream and plan your big day, you may find yourself tempted to save and "Pin" ideas that have you dreaming of an exorbitant budget that could make all of your wishes come true. Who could blame you? The ideas come racing at you as soon as you say "yes." As soon as you allow yourself to search "wedding" on Pinterest, or pick up your first issue of [fill in the blank]...the game is on!
Yes, the ideas feel endless, and the price tags may begin to feel scary. However, with a little thoughtfulness, you can create lovely personal touches through one or two selectively chosen DIY projects. Would we recommend that you DIY your entire celebration? Never! You need to be the bride or groom at some point. Instead, pick a project or two that will make a big impact on the overall feel of your day.
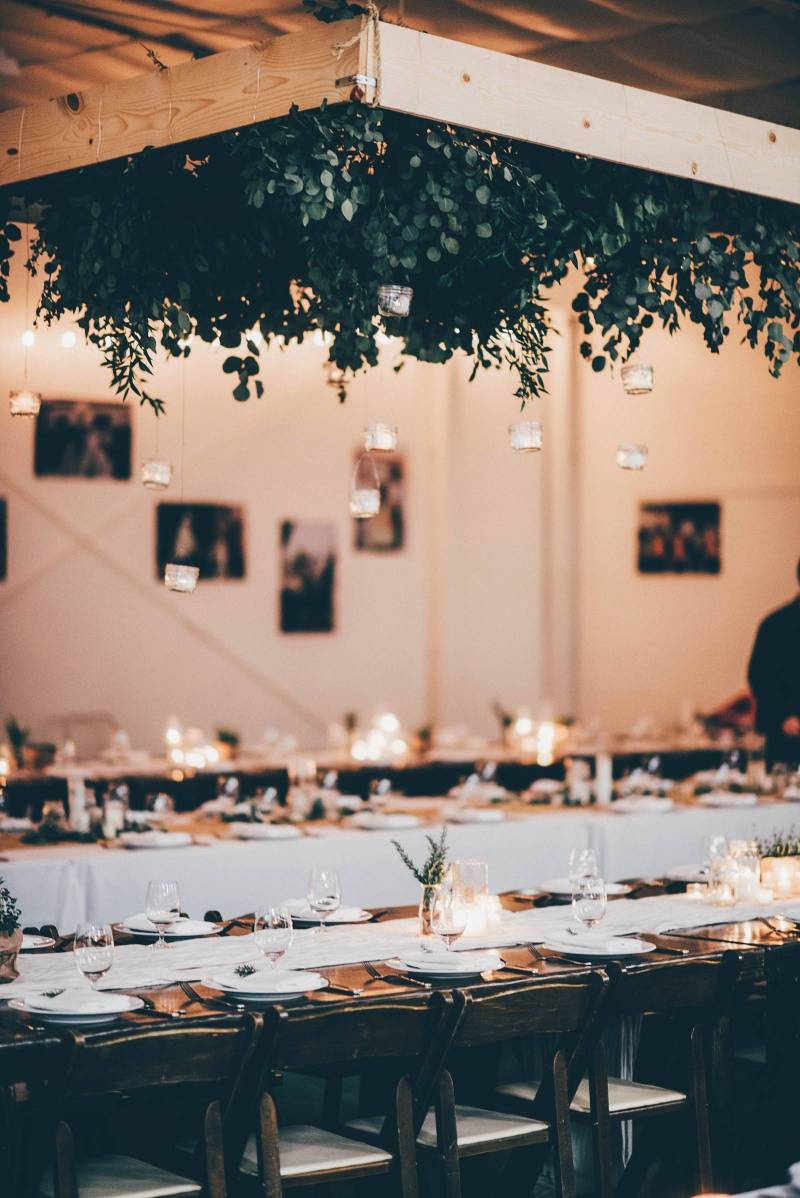
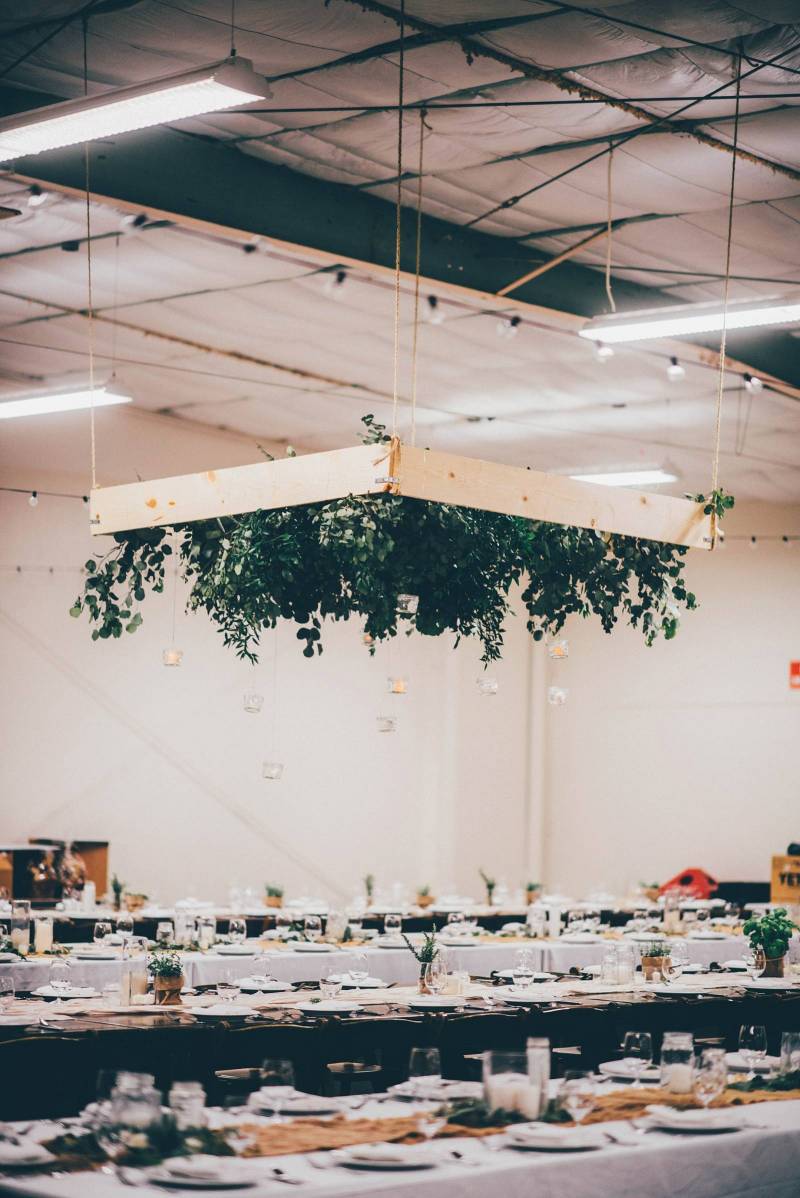
Here is a rather simple DIY that we created for a recent event. The impact was substantial, but pulling it off was pretty easy. If you can use an electric screwdriver, these greenery chandeliers will go from a pile of supplies to a dramatic design element in no time at all.

Supplies
- 4 8' or 10' planks of 1" X 8" pine boards
- 8 L-shaped brackets
- 1/2" wood screws
- sisal rope (length depends on how tall your ceiling is and how far you want the greenery chandelier to drop down)
- 4 S-hooks
- steel wire
- greenery (such as eucalyptus, nandina, ferns, etc)
- 4 oz mason jars
- battery operated tea lights
- screwdriver
- ladder
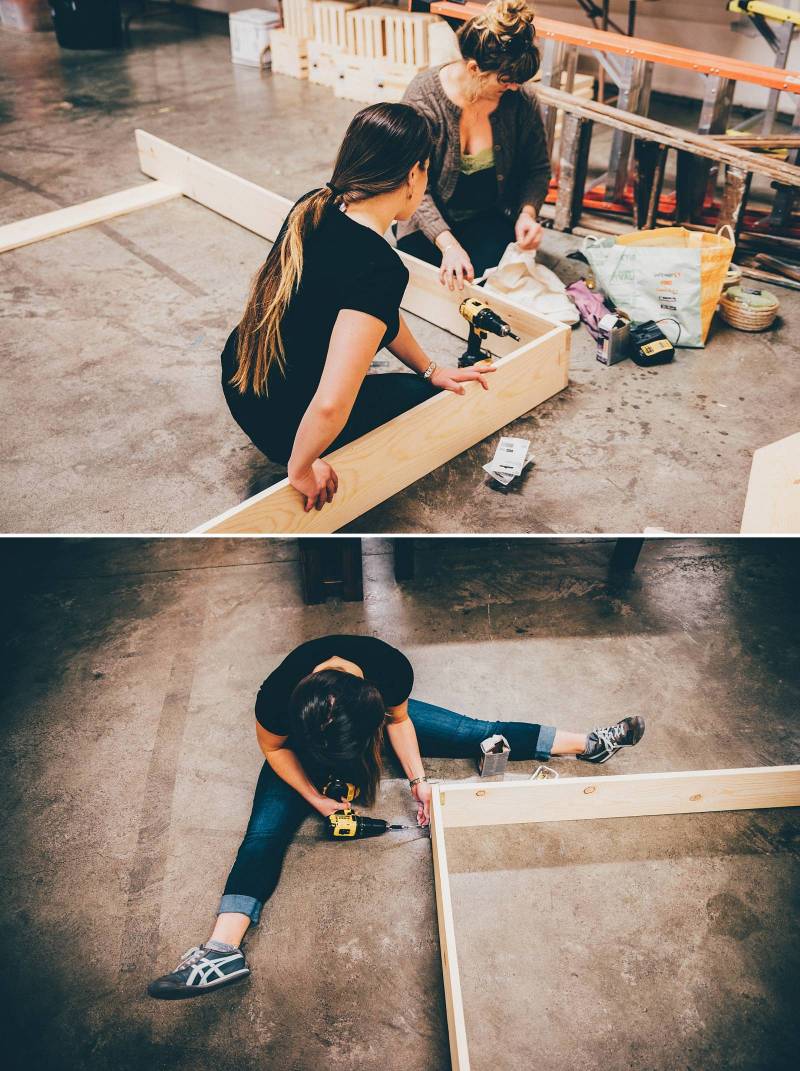
Start by laying out the four boards in a square formation. Starting at a corner, attach two of the boards with two L-shaped brackets on the inside of the corner using the screws that come with the hardware. In order to keep my structure sound, I placed one bracket towards the bottom and one towards the top of the boards.

Once all four corners have been secured with the L-brackets, it is time to use some basic weaving skills.
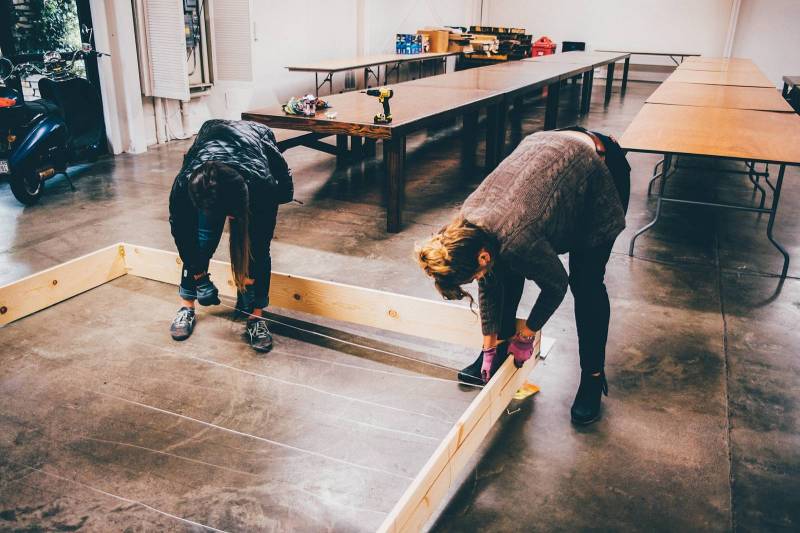
No, we are not creating complicated heirloom blankets. This is simply a case of weaving the wire around the boards and across to the other side, creating a simple grid.
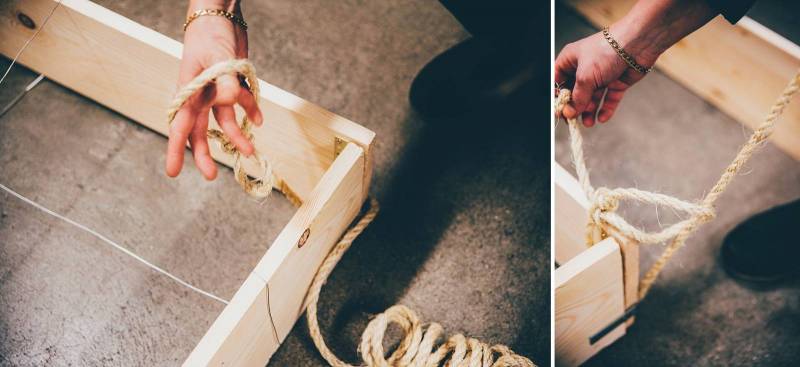
Measuring four equal lengths of sisal rope based on how far you need the greenery chandeliers to hang below the ceiling, secure them to the corners using a slip knot. At the other end of the ropes, create another slip knot that you tighten onto the S-hooks.

Due to the way the ceiling was constructed at my site, I was able to simply slip the S-hooks onto the steel beams.
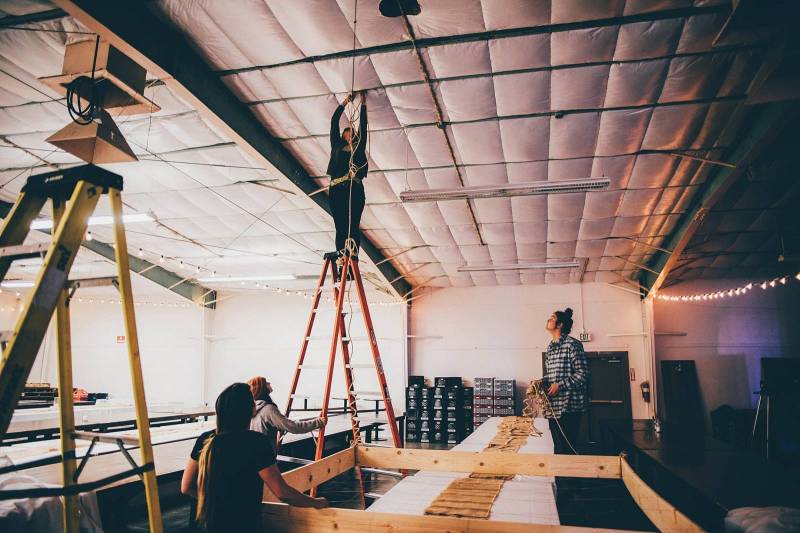
If when you go to install your newly made greenery chandelier, you discover that you need to take a different route for suspending them, know that it is okay.
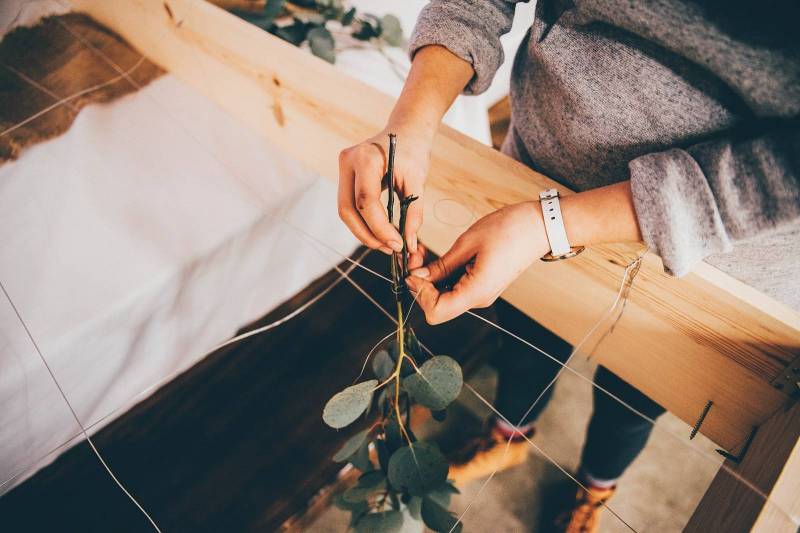
Now time to bundle up your greenery. We used eucalyptus, nandina, ferns, and more!
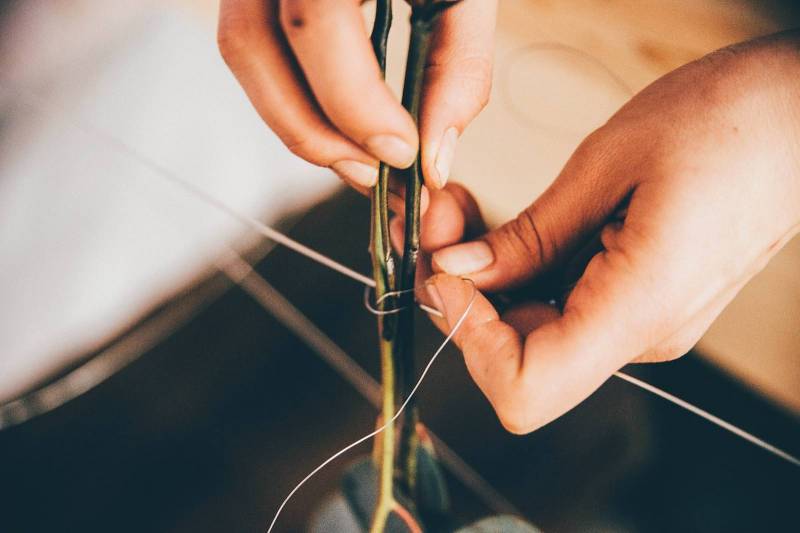
Once you secure your bundle using wire, attach the greenery to the weaved wire across the boards. You will definitely use a lot of greenery to fill up the large space.
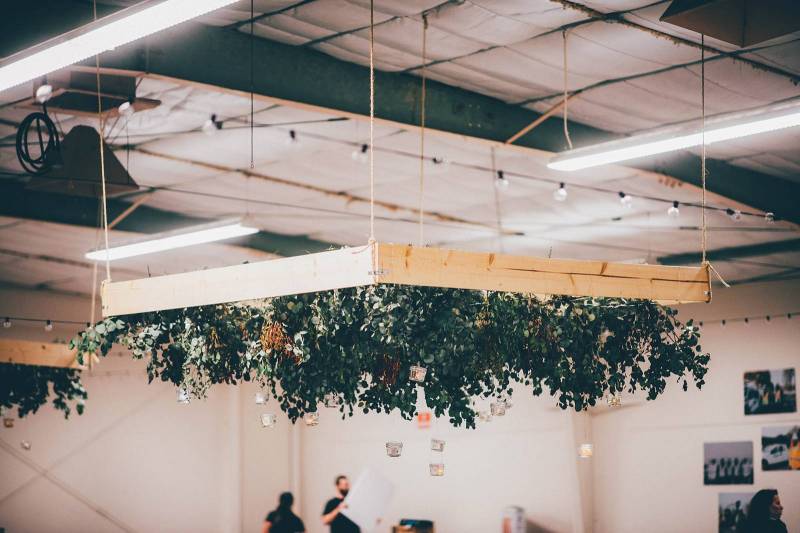
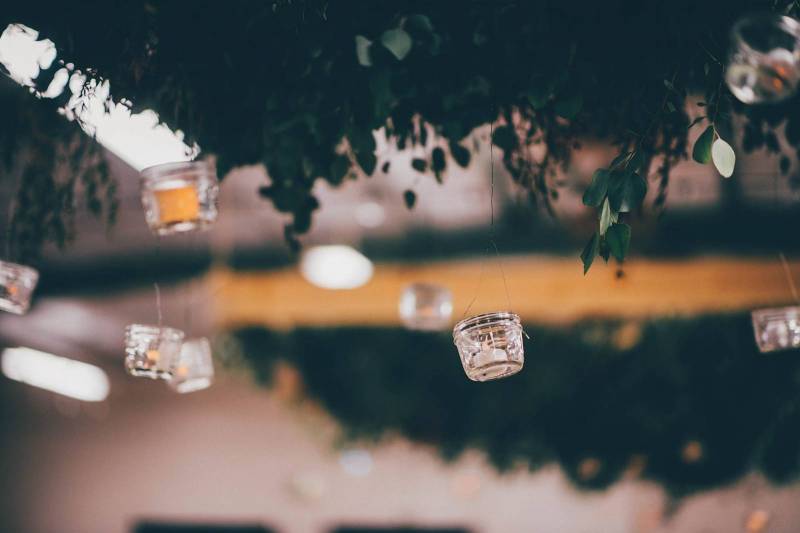
We also added battery operated tea lights in small mason jars to add ambiance to our event venue. We wrapped the wire around the mason jar to secure it and then strung the wire from the mason jar to the wires across the boards.
This greenery chandelier will be a statement at any event, especially when guests find out you did it yourself!
To add more ambiance and make the decor look cohesive, we added greenery and candles to the table as centerpieces. Some of the greenery we put in brown paper sacks to add a rustic, Italian feel and tucked rosemary sprigs into the napkin folds.
Feel free to get creative with the green chandeliers! We can't wait to see what you come up with! The best is you can make this project and suspend before your wedding so on the day of you can put down the drill and pick up the mimosa! Cheers to zesting your special day!
XOXO,
Sam & Chanda
*Contributing Authors, Sam & Chanda, are the dynamic duo behind the San Luis Obispo Wedding Coordination, Design, & Catering Company known as Zest it Up.


Leave A Comment